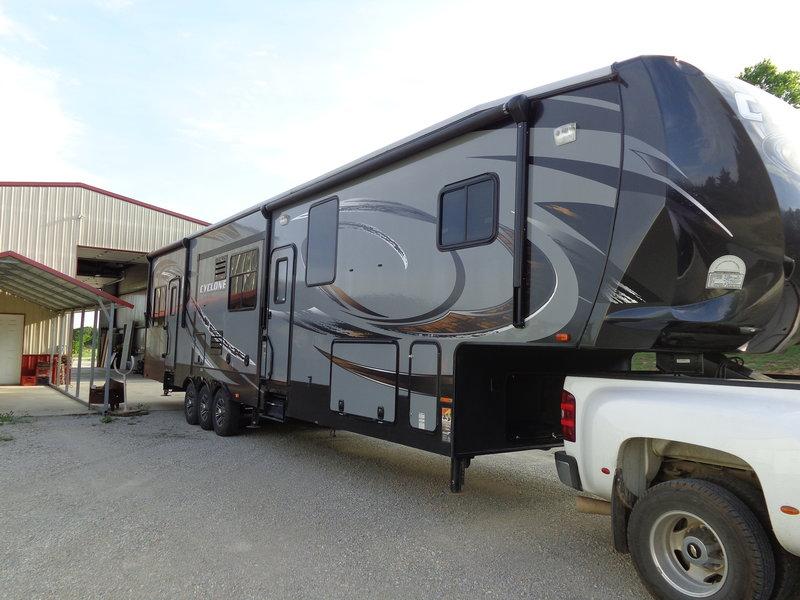
Traveling is loved by almost everyone and so do I. I'm always excited and on board when it comes to traveling with family or friends. When we are on vacation we always plan a camping trip to the mountains to get some fresh air and soak up the atmosphere. Since I love camping trips, I want to tell you that they can also be a bit tricky if you don't have the right travel vehicle.
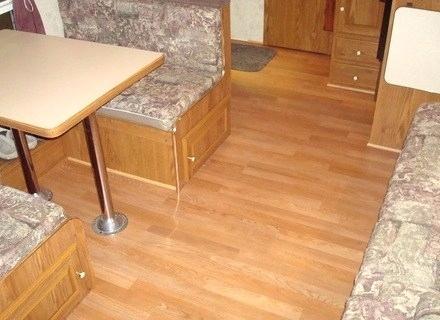
Last summer I went camping with my friends. As it was a sudden plan, we didn't have enough time to meet our needs, but thanks to my camper we had the essentials with us. We packed our bags and went on a trip. We had a lot of fun throughout the trip, but on the last day we ran into a problem that we all faced. It popped up while we were sitting in the living room of my RV.
We found the living room floor to be spongy and folded inward. Well, I took note of this problem and I searched for causes and solutions at home. Apparently I found out that the problem could be due to moisture seeping into the ground. Many reasons were given for this, such as B. a leaking roof, condensation over time, a problem with the installation or repeated contact of water with the same surface by external factors.
When I inquired about the solutions to the problem, it listed and described different methods to solve each type of problem. I was interested in the one where the floor bends vertically because I've never had a problem like this before. Based on the problem, I found solutions and they took a lot of hard work to execute. However, he needed to know how much damage was in there, as it could completely change the scope of the work to be done.
Procedure for anchoring the RV to the ground:
When I investigated the problem, I was sure it couldn't be a leaking roof. It could be because of the plumbing issue, but even that wasn't the case. After removing some shingles, I noticed that some of the sections of plywood under the shingles were wet and there was no visible water contact with them. Looking very closely, I suspected that it might be accumulated water due to condensation from rain or cold. Since the ground wasn't completely wet, it was a bit difficult for me to make corrections in those specific spots. Leaving it the way it was wasn't an option either because it might have to go somewhere again, so I decided to repair the entire living room floor.
Although the procedures involve removing and replacing various items such as tiles, plywood, nails, etc., this is not part of our daily routines. All the steps needed for someone like you and me can be done with the right tools and instructions. I will share with you all the instructions and tools I used to fix the problem that will be useful to you too. All these procedures are performed by me, but in case you do not understand how to do it, I ask you to hire a professional to do it. Ground securing procedures included the following steps:
- Remove furniture and measure area: If there is a floor problem that requires a complete floor repair , this step is paramount. You must remove anything that is stored on the floor. I started by unlocking the furniture like the table and sofa that was bolted to the floor and walls. I also made the corresponding mark on the wall to remind me of the exact position of the furniture. Side by side I wrote down the measurements related to the placement of the furniture. These noted measurements helped me later when I replaced the furniture after I had completely repaired the floor.
- Trim and Tile Removal - After carefully removing the furniture, I worked to remove the trim along the bottom edges of the RV. To do this I used a pry bar which made the process a lot easier, just be careful with your nails when doing this. If the molding is in good condition, be very careful when removing it as it can be reused during the repair. Now it was time to remove the tiles. Tiles can be removed with a crowbar or screwdriver. I stuck the lever between the tiles at an angle and applied pressure so that the tile lost its grip on the floor and popped out. Also, I removed all the tiles and what I saw was the entire floor underneath was damaged, but not badly all over. Some parts were clean and didn't need repairs, but I considered redoing the entire floor to keep the problem from reoccurring.

- Removal of damaged wood and foam: Although the wooden part was not completely damaged, it had to be replaced. This was the trickiest part as it also involved removing the foam that was inserted between the top and bottom planks of wood. I removed the wood by cutting it with a saw and the foam with a scraper. It became a mess as it took me a while to tidy everything up after removing the wood. There was a veneer underneath the wooden part that was causing the problem. On cold days, condensation can cause moisture to accumulate inside the panel and be absorbed by the wood.

- Modification of the wooden floor: So that the problem no longer occurs for a long time, it was important to me to build a solid and waterproof foundation for the floor. This means I had to add caulking under the clapboards. So I decided to use plywood for the floor. I started adding wooden beams on the metal part of the floor and also on the wall. After that I added floor ties and then glued them together properly to hold them in place. The ducts accompanying the sheets were insulated with asphalt mesh, which in turn protected them from corrosion. When placing the beams, I also made sure that the floor under the seating area is heavily reinforced. Instead of foam between the sheets of plywood I used thick fiberglass insulation. Screws were used to fully join the two layers of wood together to create a level surface.

- Laying tiles on the wooden surface: Now the choice of tiles was in front of me, because I knew that the surface wasn't quite straight. It had sloping regions. I chose adhesive tiles for this purpose because of their ability to handle sloping and uneven surfaces, unlike ceramic tiles. Tiles do not necessarily have to be used, you can also opt for wood or carpet for the coating. Another important thing before laying the tiles is to always start laying the tiles from the center of the square. In this case, if you don't have a perfectly square space, unevenly cut tiles will appear in the corners. This allows you to see the ground better. Use the smoothing machine to smooth the tiles to give them a shiny and attractive look.

- Furniture replacement: After the floor was finished, I replaced the furniture according to the measurements and markings above. I used a crescent wrench to screw down all the furniture in the RV.
This is how I managed to fix my RV's floor myself, but if you're not comfortable with such tasks. It is better to call a professional. The process that led to the laying of the tiles may not be as simple as it seems. Be very safe and careful before performing this operation. Ditto for cutting out the damaged portion of the wood as you may accidentally cut into the underlying ducts or vents in the vehicle floor.
Care tips for RV floors:
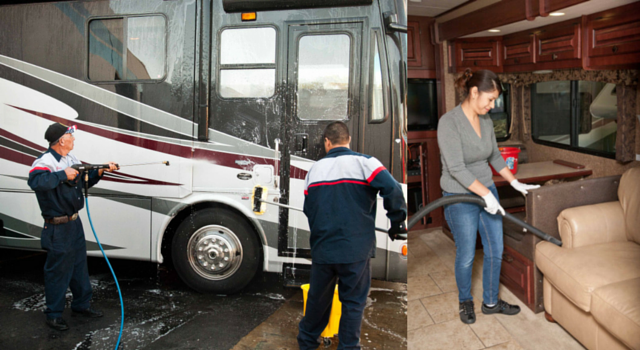
- Cleaning: This process involves the timely cleaning of your RV which will help keep the vehicle floor healthy. What happened to me was that I hadn't done it for a long time, which has led me to this day. Having your vehicle cleaned quickly can give you early insight into such issues. This will help you deal with it early on and can even save you money. Had I known this earlier, I would have prevented further soil damage.
- Take care of the furniture and other accessories: This point is also critical, because your furniture also has contact with the floor. If your furniture is struggling to absorb moisture, it can also affect the floor of your RV. If your floor is wet for any reason, this can also adversely affect your RV setup. Therefore, it is extremely important to take care of your RV furniture.

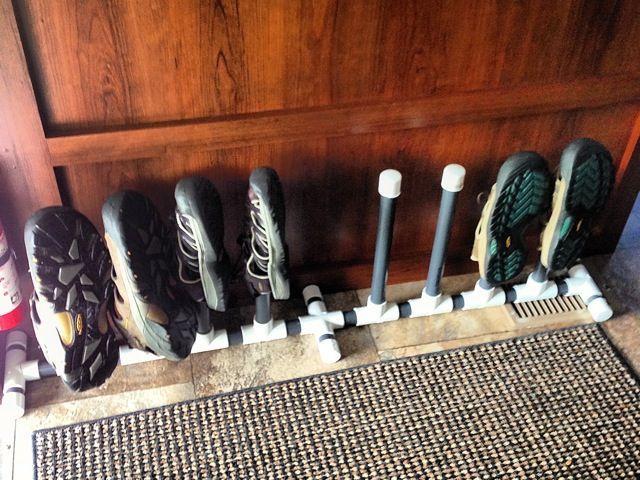
- Keep dirty shoes out - Damaged floors can also be caused by repeated use of dirty shoes in the RV. This factor involves keeping wet shoes out of the RV, which prevents water from contacting the ground and therefore does not deteriorate as quickly as if you wore shoes in the vehicle. If possible, keep a shelf near the RV door to store shoes.
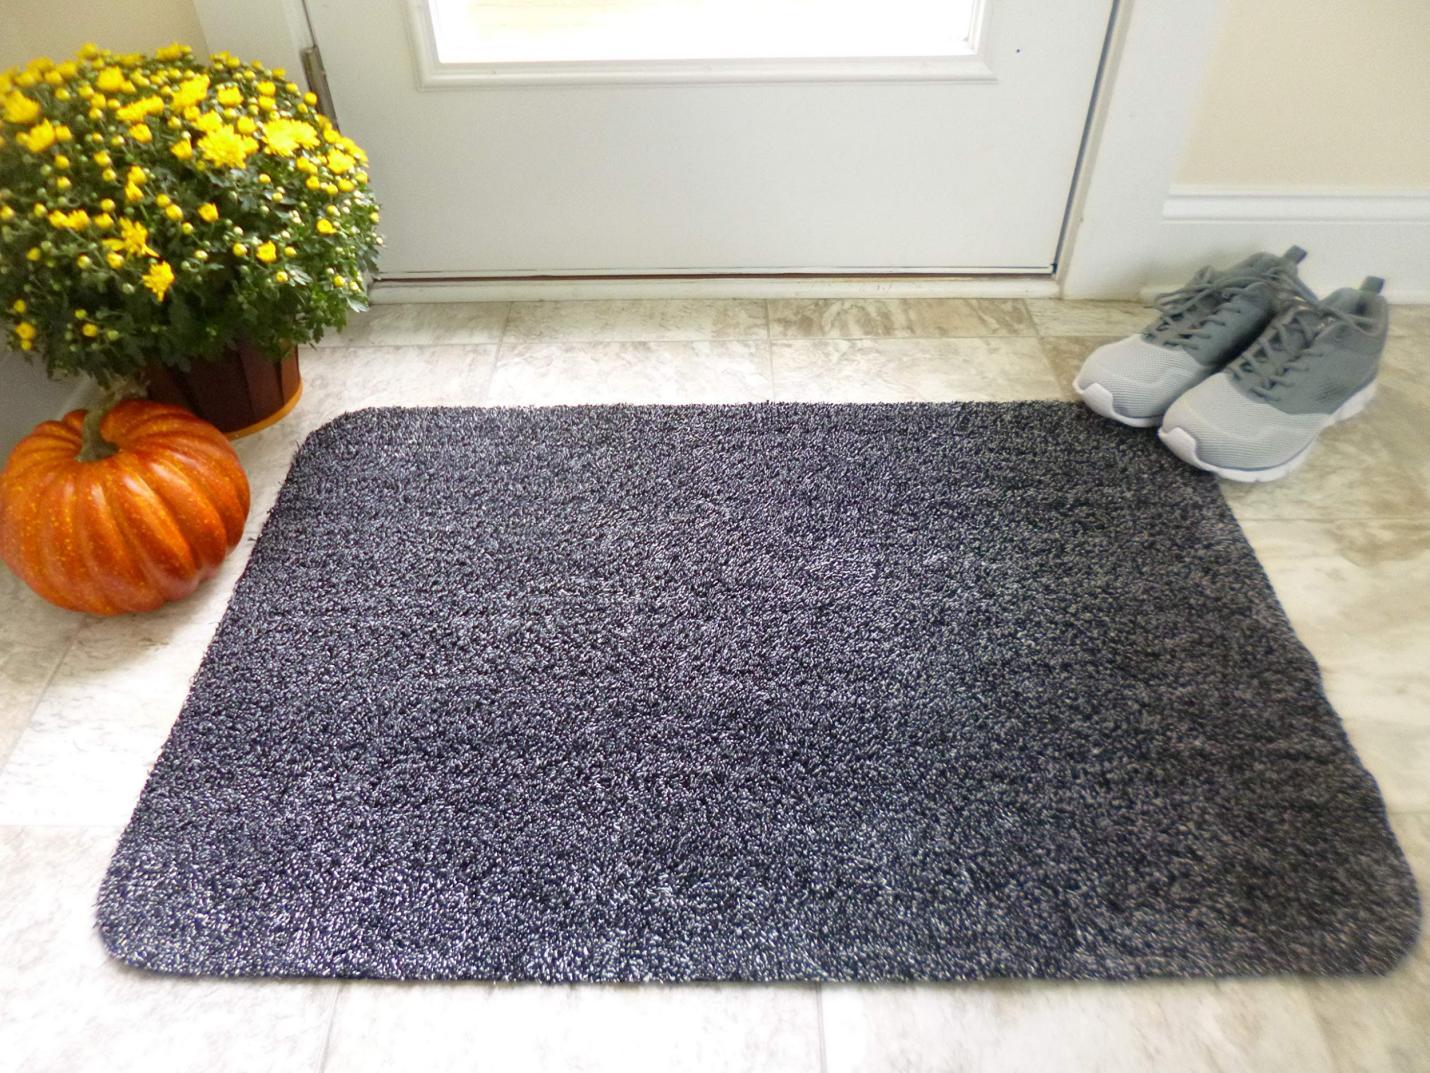
- Mats: If for any reason it is necessary to wear shoes or slippers in the RV, try to keep a mat in your vehicle's driveway. This prevents shoes, slippers and other footwear from drawing moisture into the vehicle and ultimately protects the floor. It is also worth mentioning that keeping a mat at the entrance to the mobile home will help maintain cleanliness and hygiene.
- Parking in a garage: This is also a factor that determines the health of your vehicle's floor, as well as all other elements such as the roof, machinery, etc. Always park your vehicle in a garage. This helps maintain a dry environment around the RV, preventing any type of vehicle loss due to rain, intense heat, wind and condensation. On the other hand, your vehicle will last longer.
Conclusion: I have listed all the necessary information about the RV, the factors that lead to damage to the vehicle floor and the methods and techniques you can use to repair it. It would be a little easier for you to judge what to do if you get stuck in a situation like yours. Although I did mention the whole process I went through to get things done. It will not be important for you to do all this when you take care of your motorhome. You can consider all the above tips and put them into practice to avoid such a situation. In my opinion, have your vehicle serviced and cleaned in a timely manner and you will never have to worry about this problem. When you need to replace RV parts, you can buy quality replacement parts from TOW-MAX, the leader in trailer axles and hubs .
Aucun commentaire:
Enregistrer un commentaire