One of the values my parents instilled in me from an early age was to be proud of what I own. "You can't have beautiful things until you learn to take care of them," my mother used to tell me. The post got stuck at the point where I'm semi-obsessed with keeping things in tip-top shape to prolong their lifespan as long as possible.
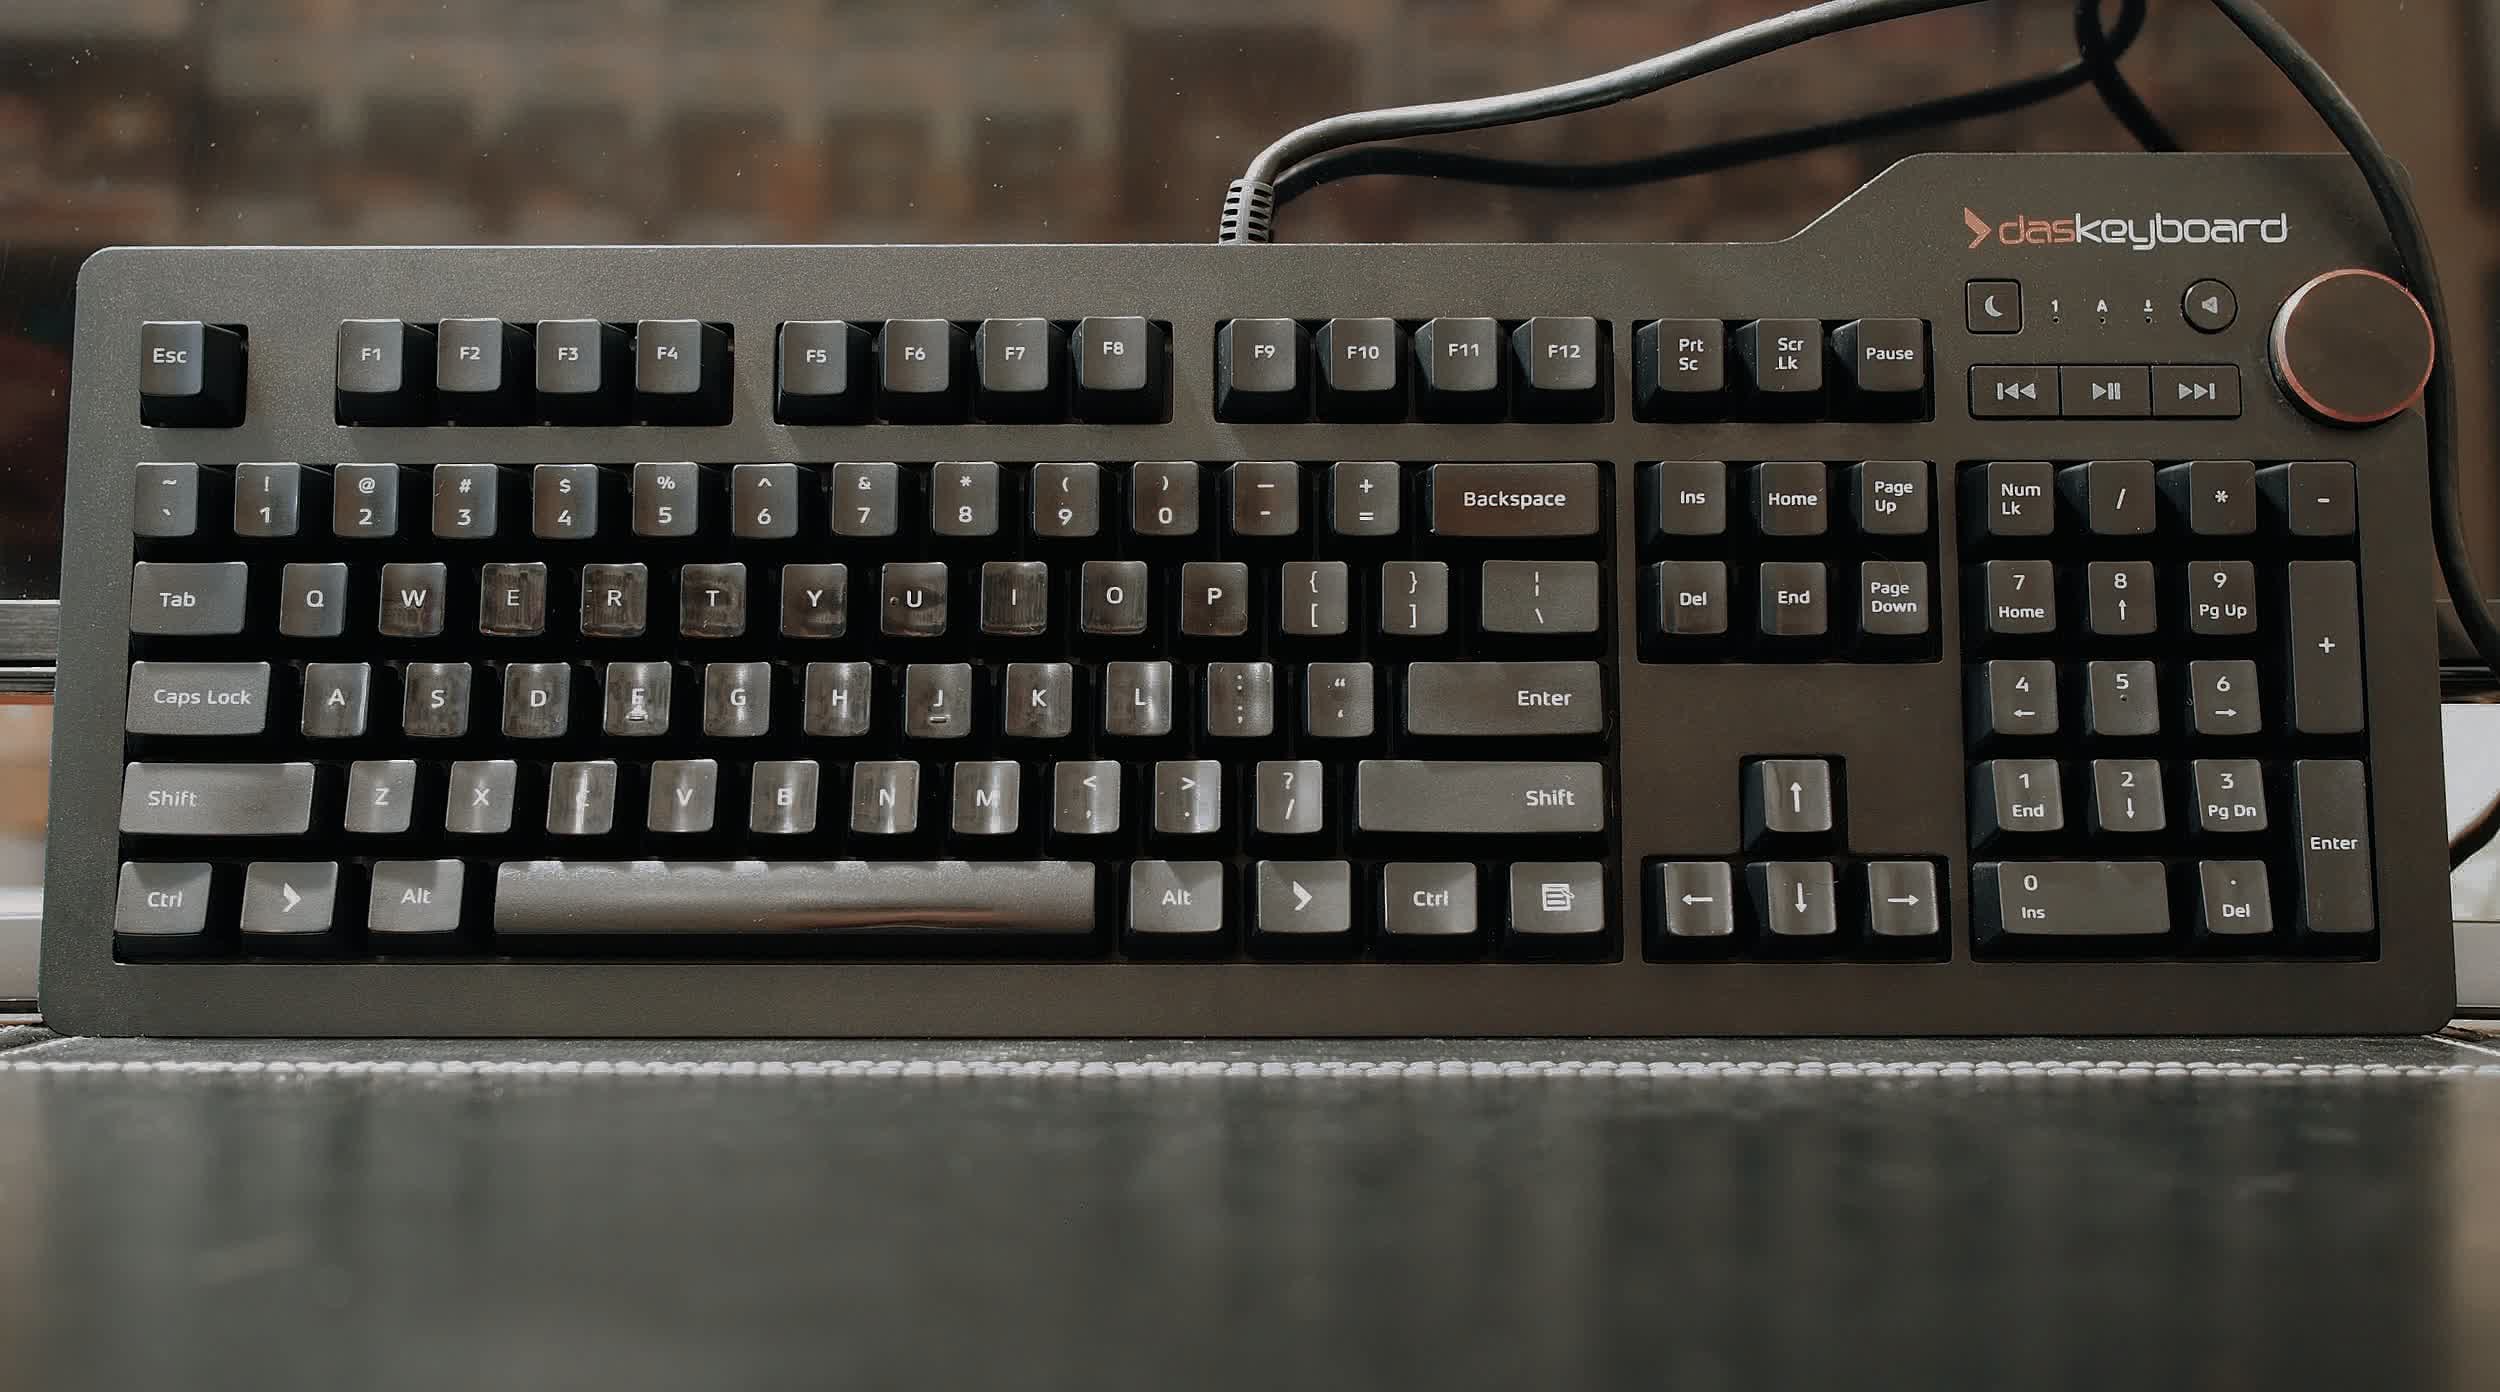
For example my keyboard. I've been using a Das Keyboard 4 Pro exclusively since 2014 without incident. Build quality aside, I attribute its longevity to regular maintenance cleaning. Every few months or so I do a routine cleaning, running the flat edge of a business card or artisan pipe cleaner between rows of keys to pick up any stray hairs before flipping and whisking the board. To hell with coaxing any loose debris.

A few puffs with a can of compressed air works, too, and I've even heard of people using a shop vacuum to pick up stubborn particles.
The whole process takes less than five minutes and is definitely worth it, but sometimes you want to go the extra mile and do a deep clean. You'll need a few extra tools and a bit more time to do this, but again, it's a worthwhile investment.
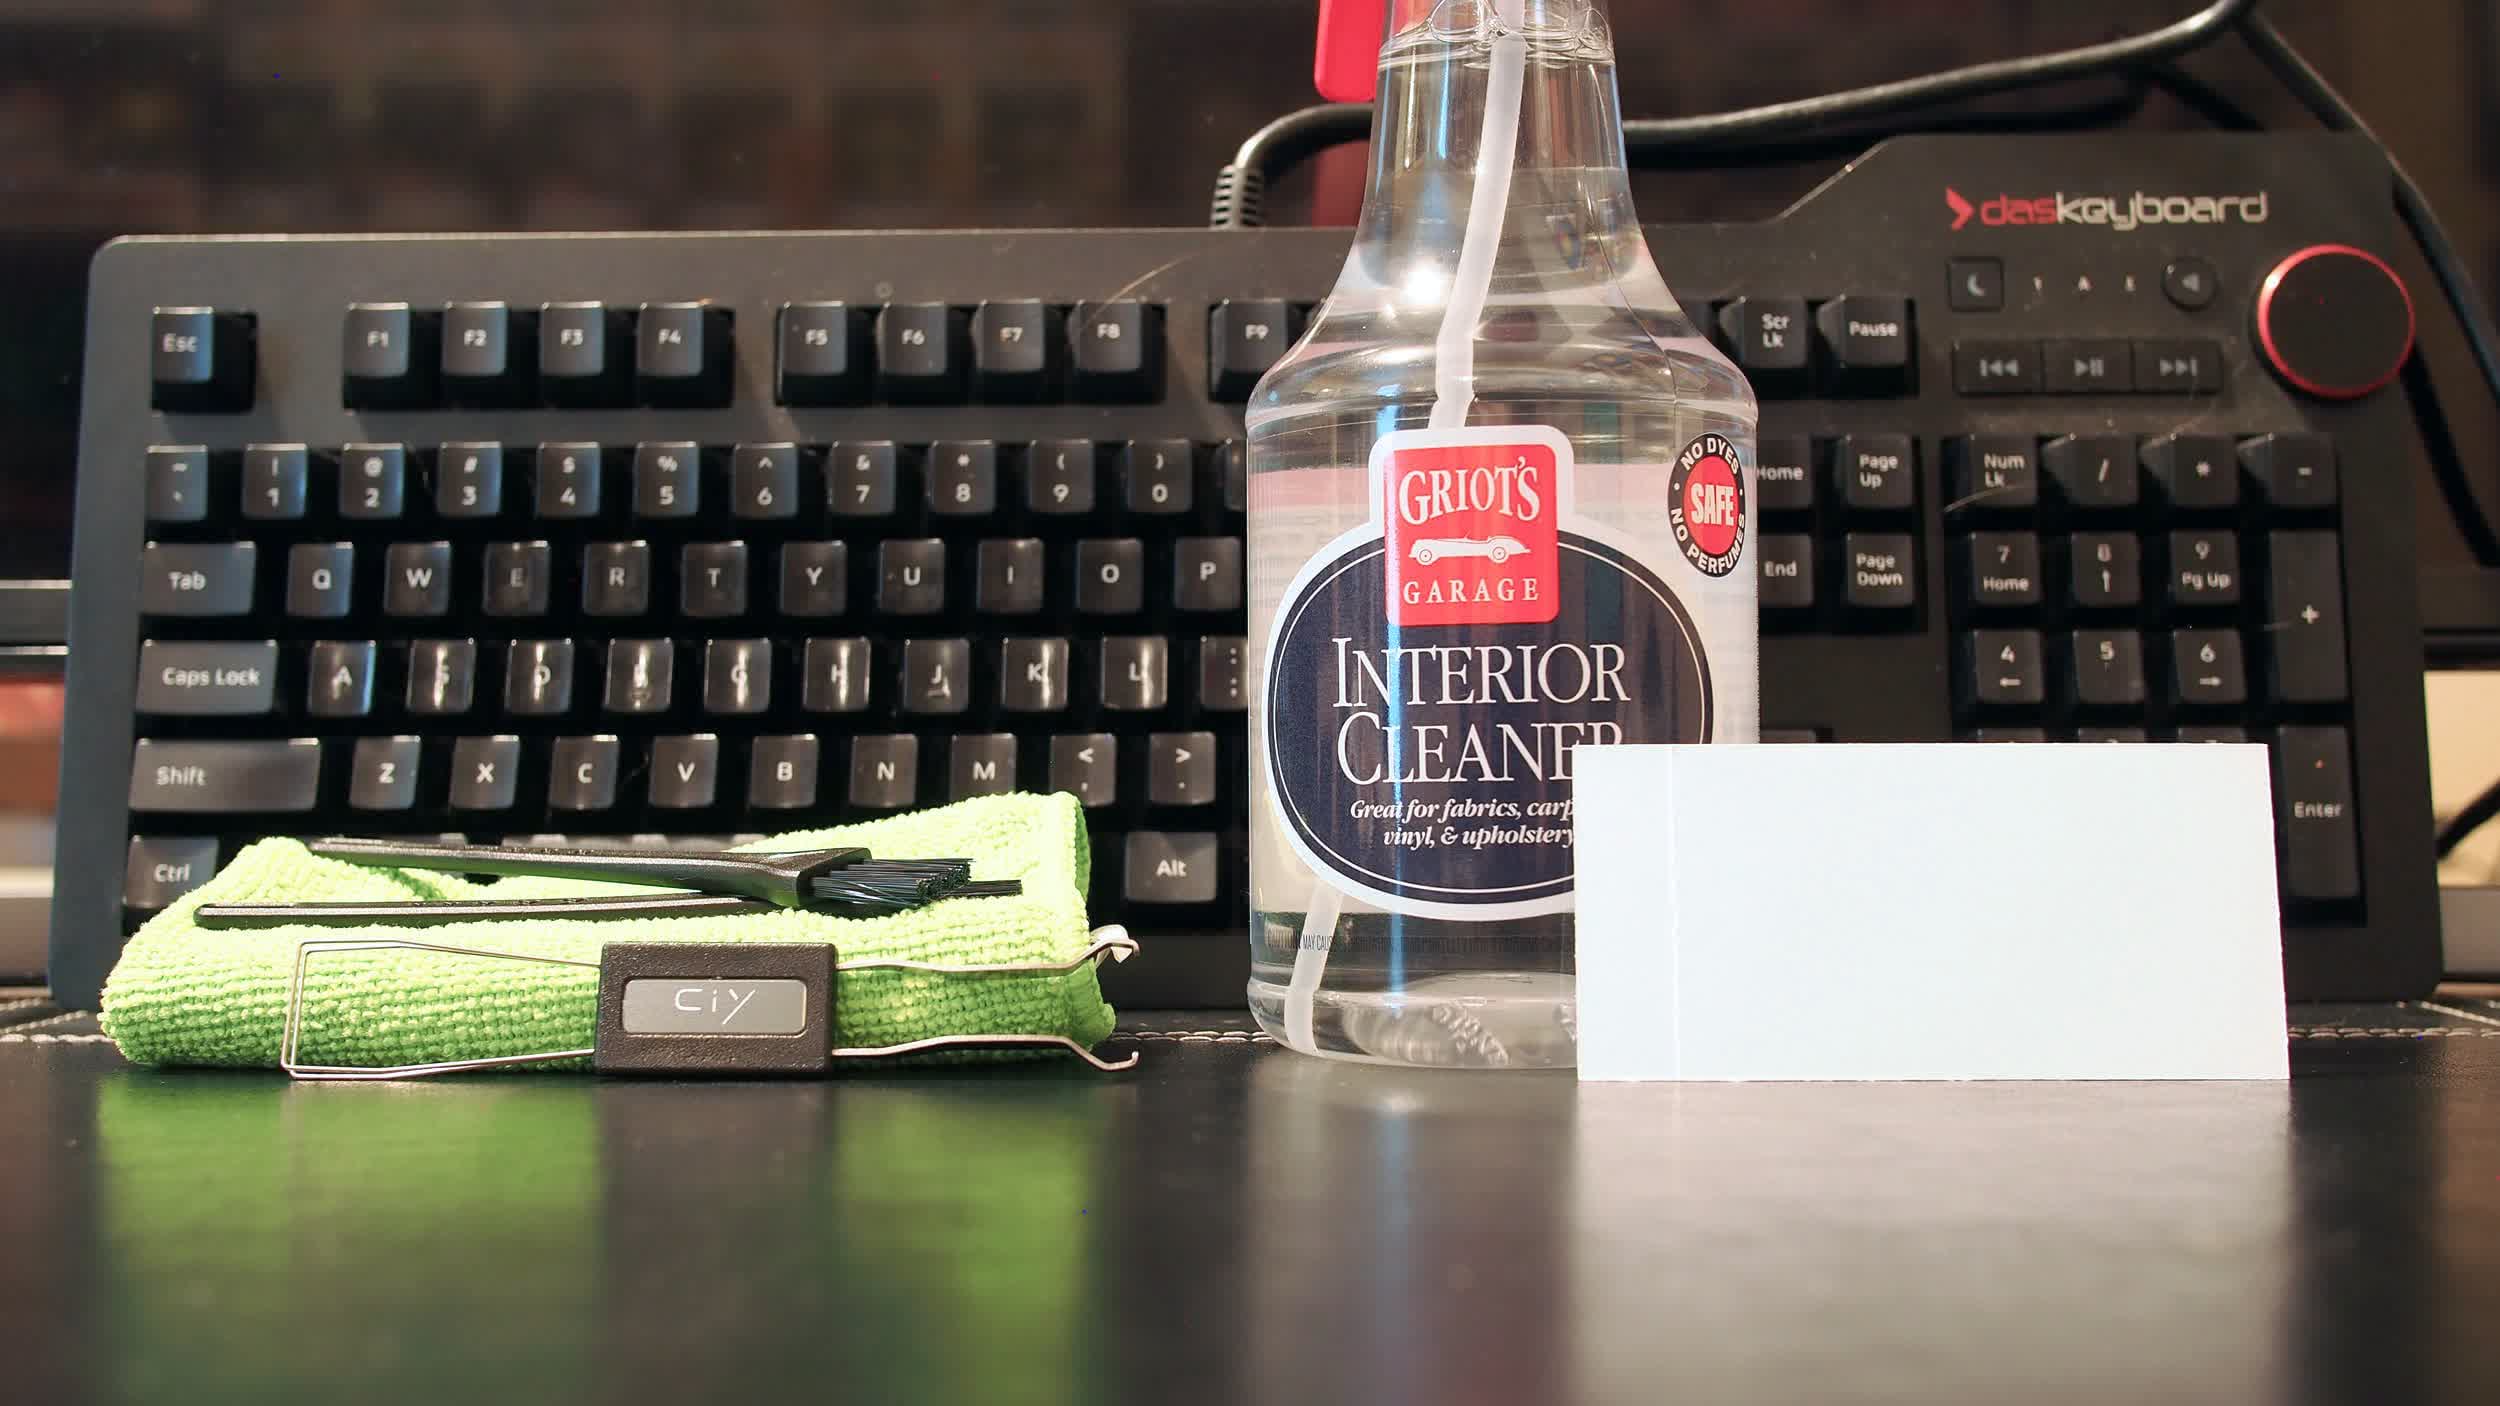
A keycap puller is essential for a good keyboard cleaning. I bought a set with the tool and two cleaning brushes for $6.99 from Amazon. It's also a good idea to have an all-purpose cleaner (isopropyl alcohol works too) and a microfiber cleaning cloth on hand.

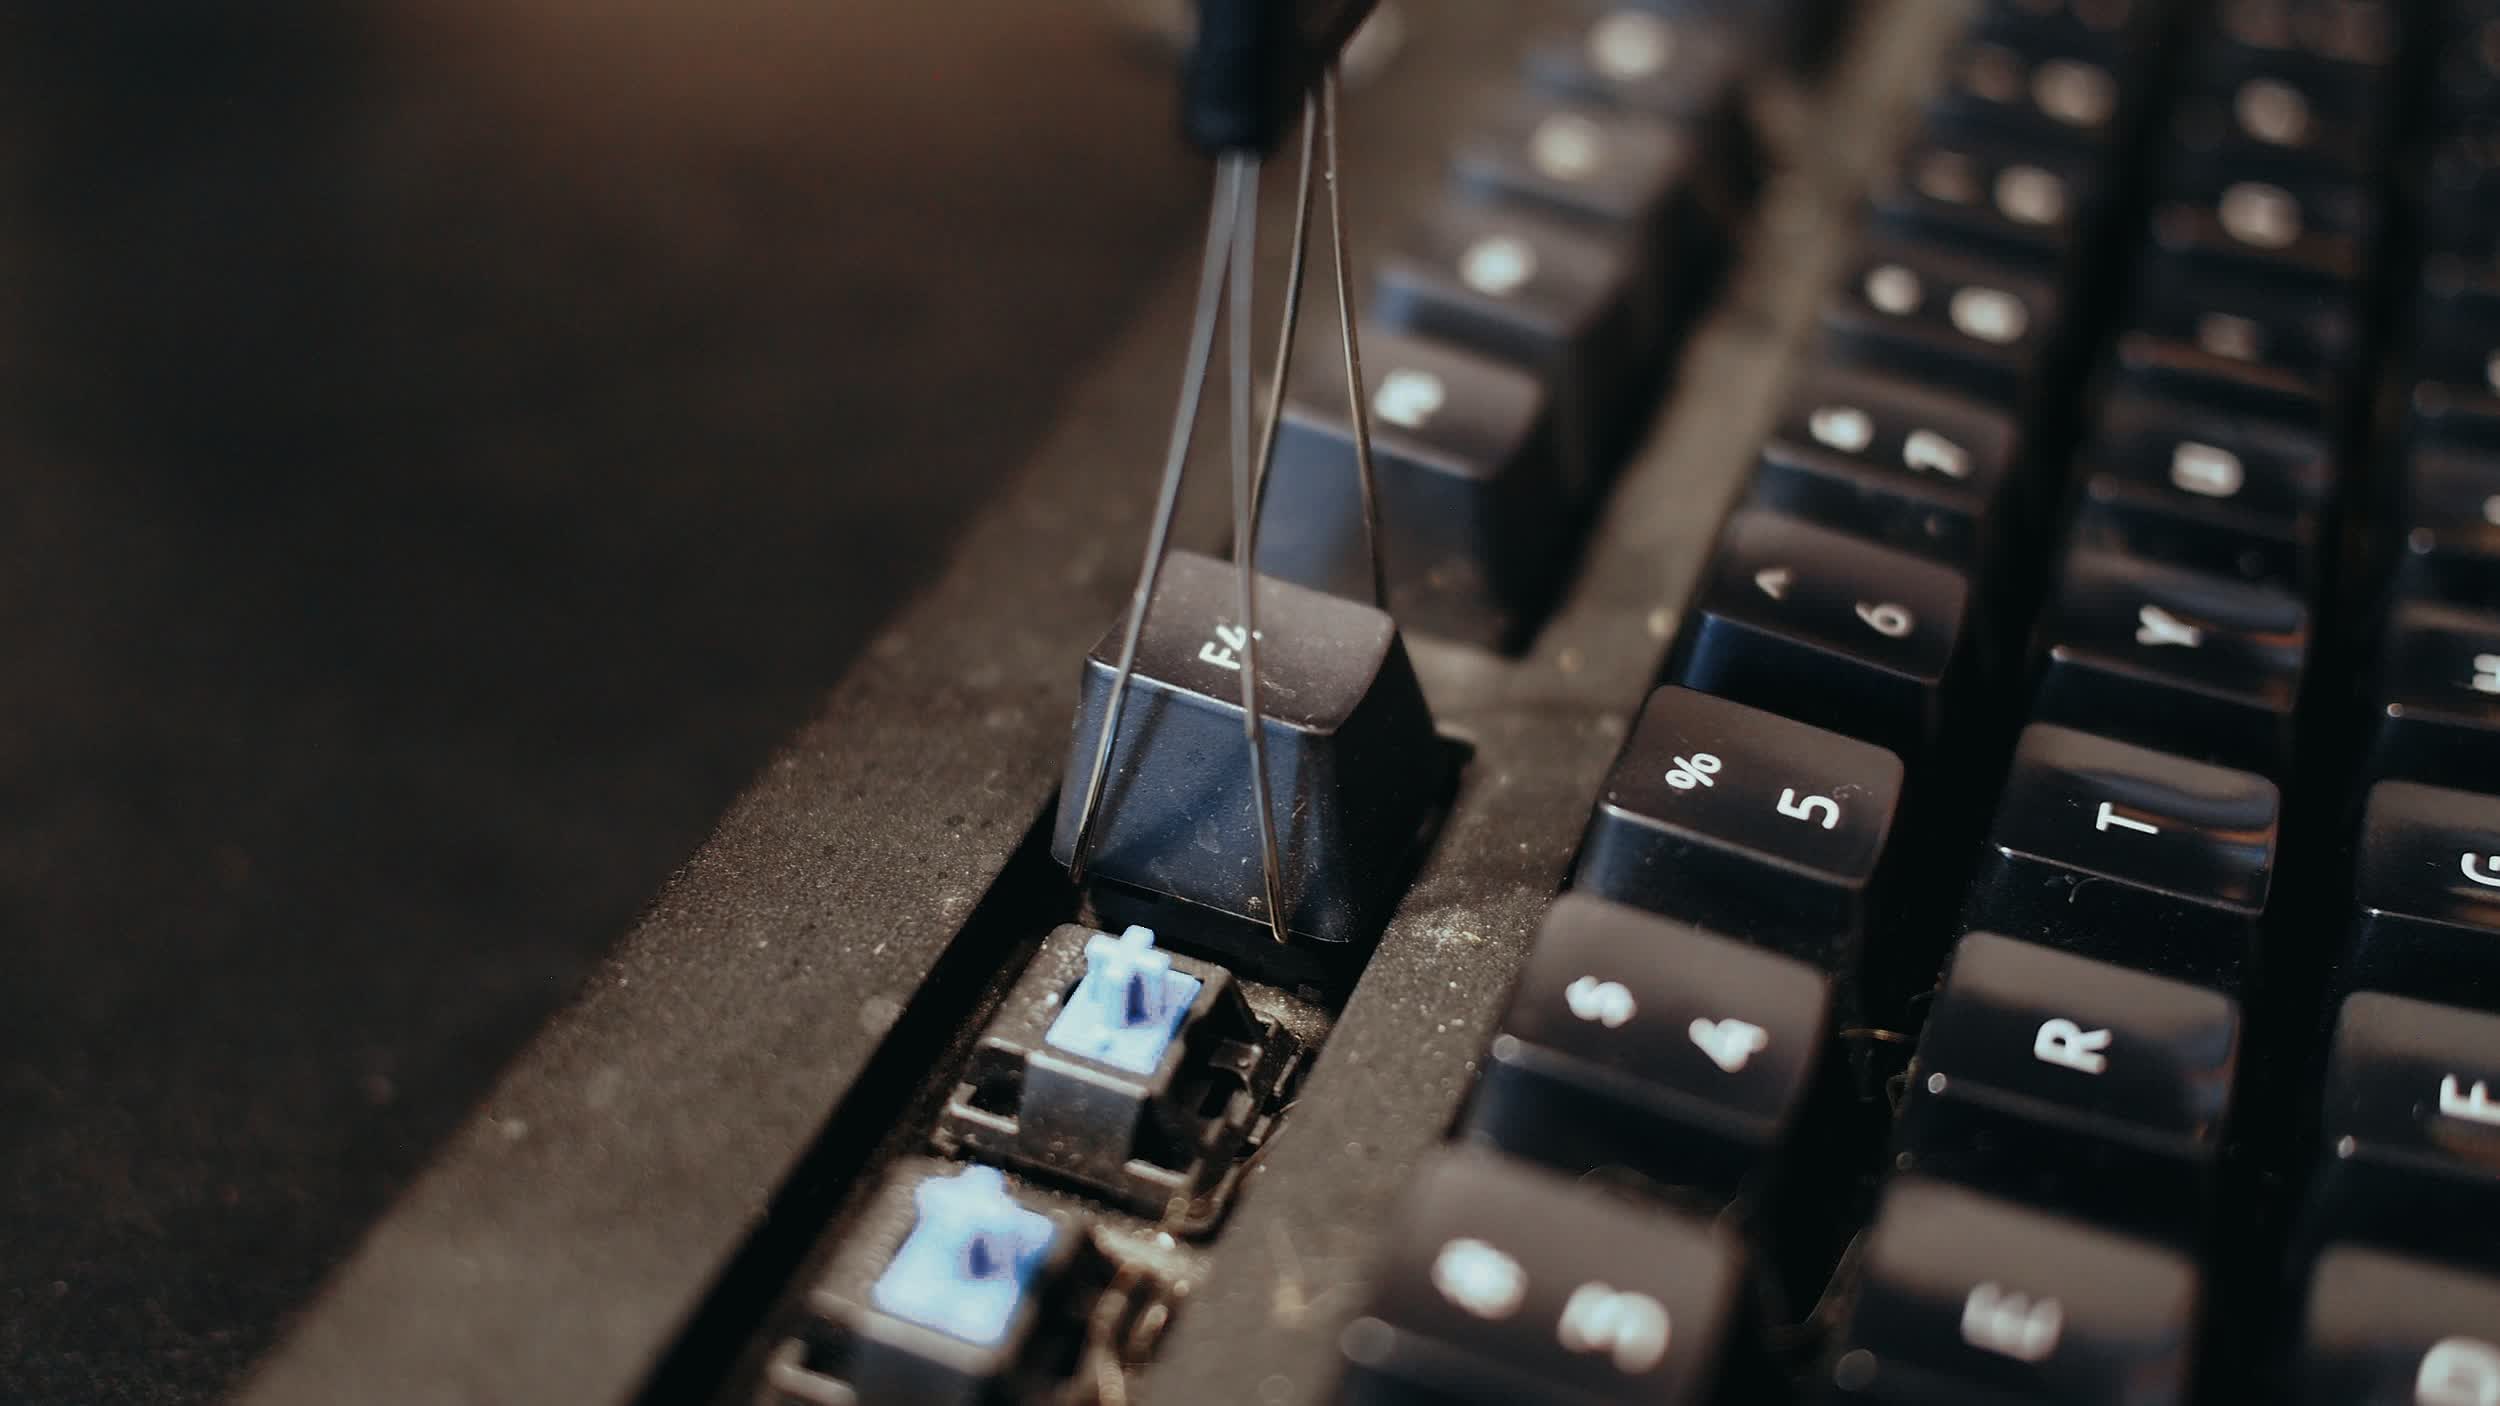
With the computer off and the keyboard unplugged, it's time to get down to business. Use the key puller to remove the keys from your dashboard. It's tedious because you have to go one by one, but it's easy to do. Simply slide the ends of the metal hook over and under each key, then lift. As long as you use gentle force and don't try to rush the process, there isn't much risk of damage. Rinse and repeat until all standard size wrenches have been removed.
Larger keys like the spacebar and backspace often use different support, including a stabilization bar. These can be removed, but since all the other keys around them have already been removed, I chose to leave them in place and just clean around them.

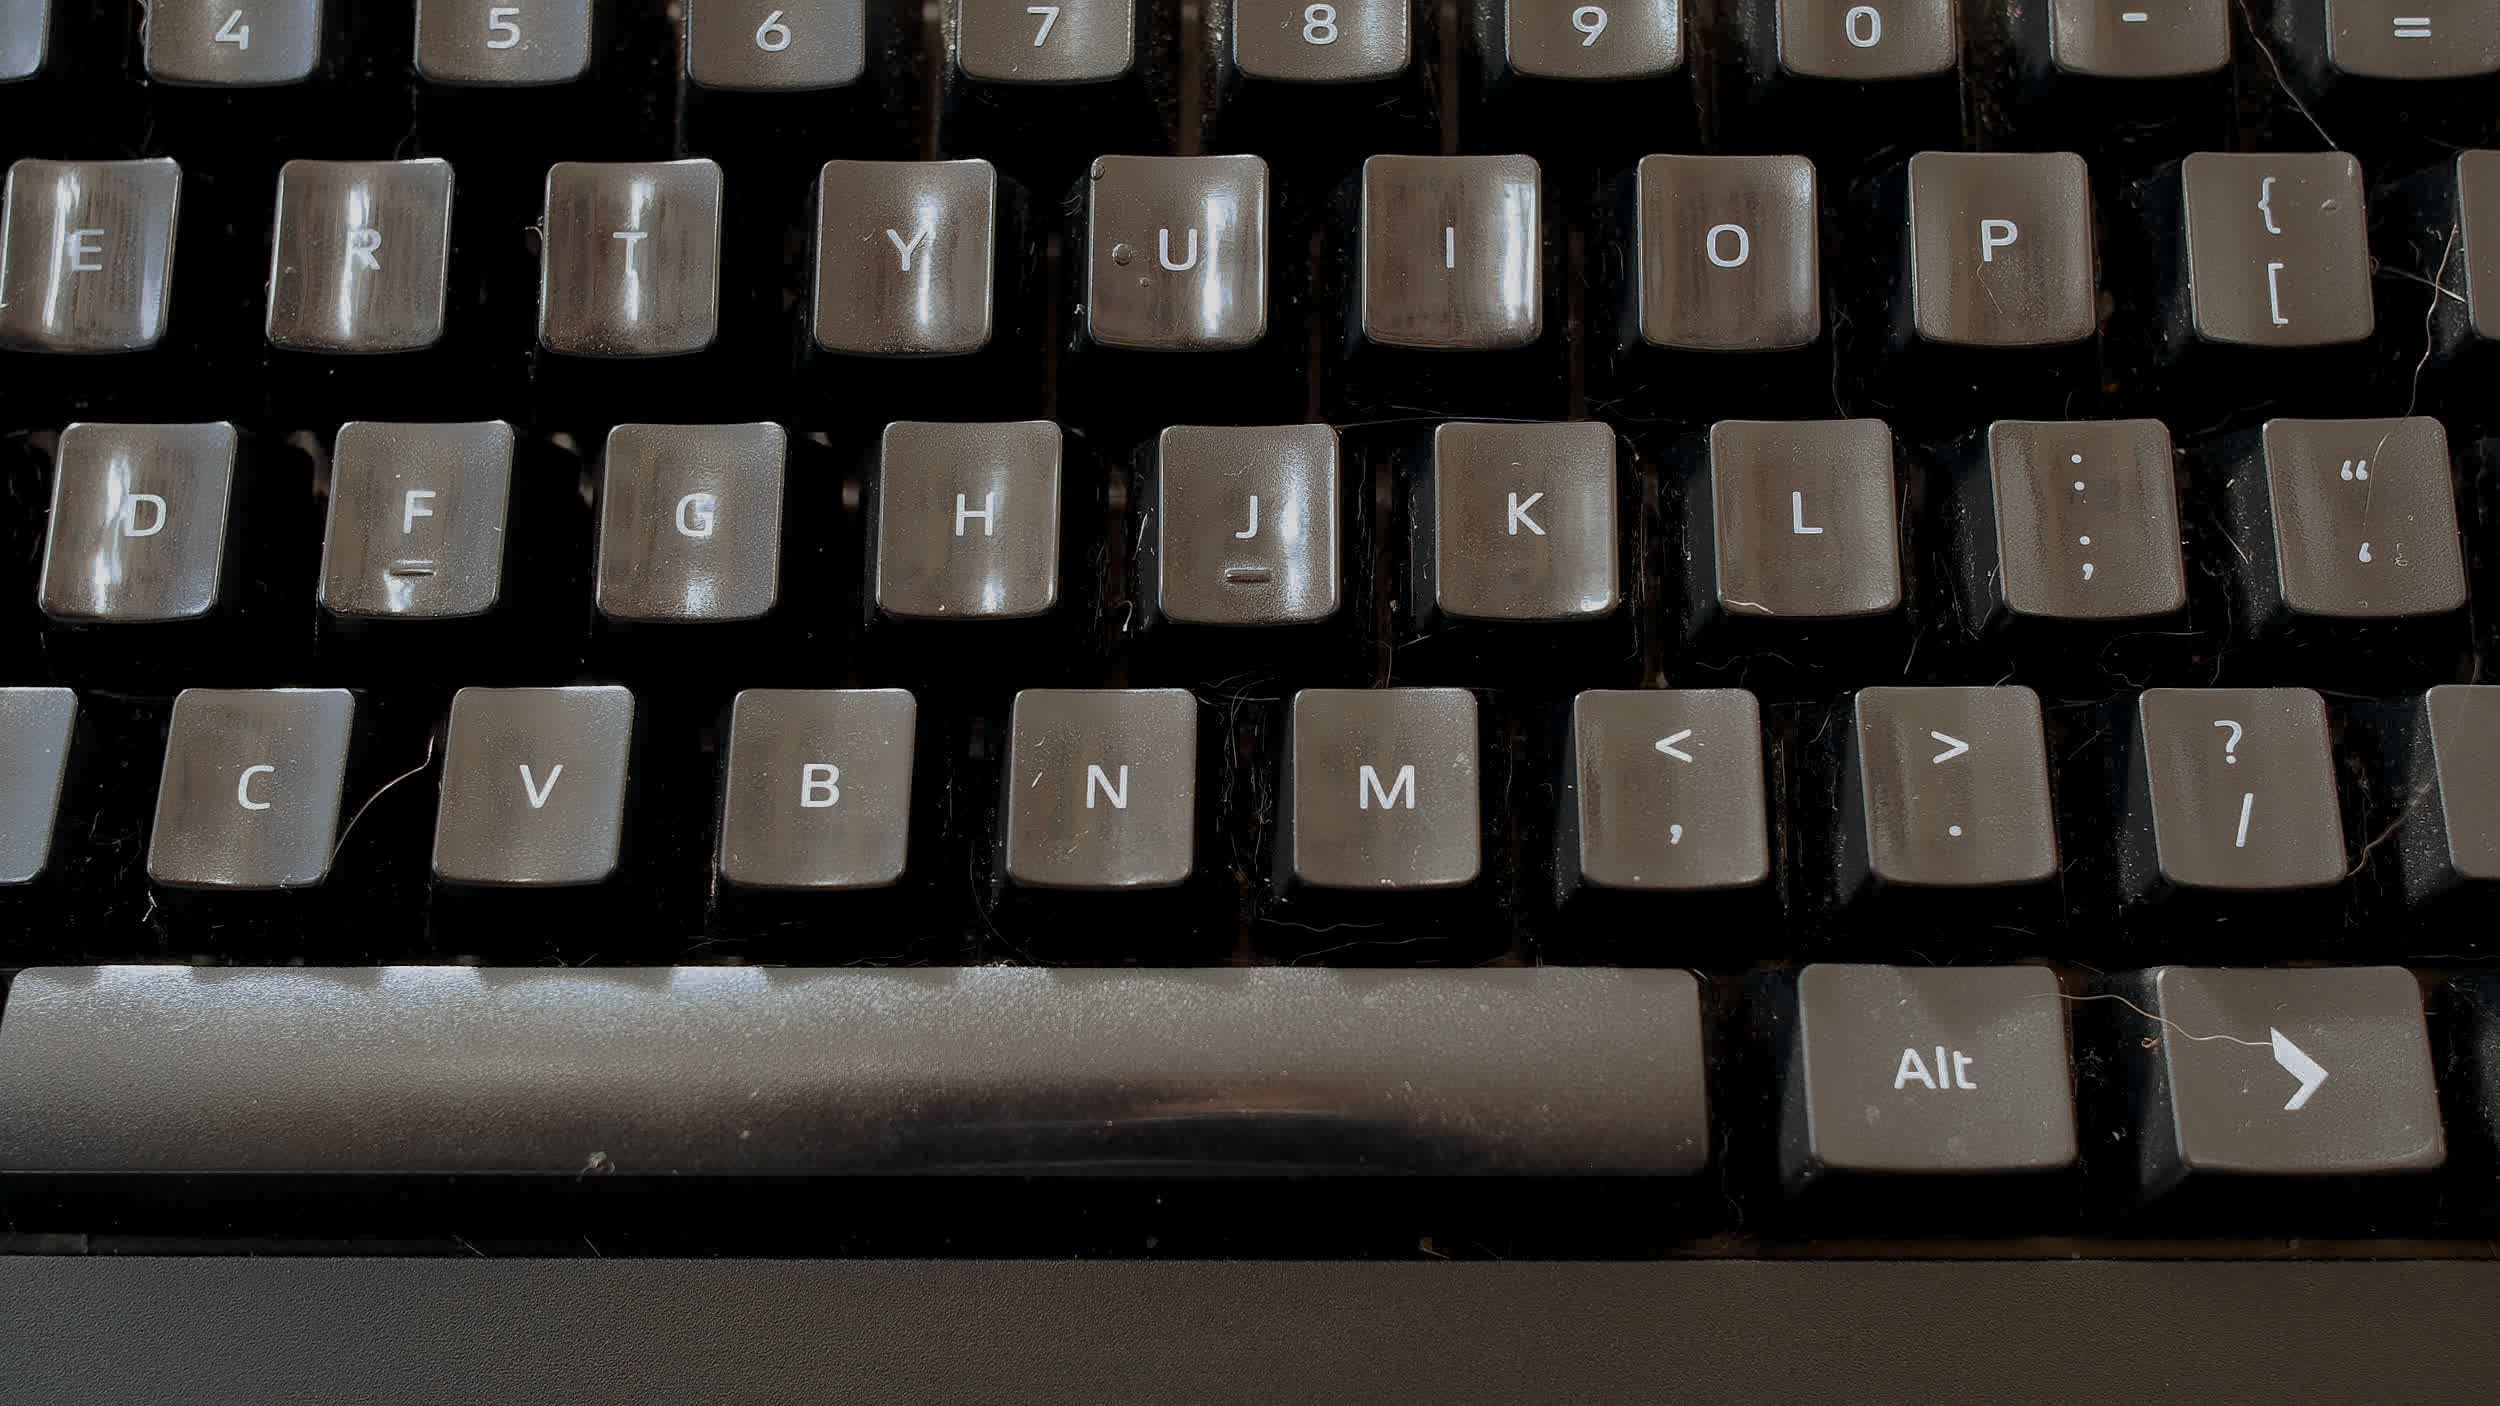
I found a disgusting mix of hair, food crumbs and other dirt hiding under the keys. I can only imagine how much worse it would have been if I hadn't done regular maintenance cleaning.
I used the brushes that came with the key puller kit to remove most of the mess, but really any brush should do the job. An auto detail brush or an unused makeup brush would be great alternatives.


How much time you spend on this step is entirely up to you. Those looking for a new look may want to take out the tweezers to remove any embedded hairs and fibers, but I was more than satisfied with a 95% improvement. In addition, you still have to take care of the individual keys.
This is where the all-purpose cleaner comes into play. I again reached for the key stripping brushes to get into the nooks and crannies on the underside of each key, then gave the exterior surfaces a thorough wipe down with a cleaner-soaked microfiber before drying. Having a wizard or two will greatly speed up this process as I spent quite a few hours on this step alone.

When everything's clean, all that's left is to put each key back in place, give the keyboard a good scrub, and admire your work.
Aucun commentaire:
Enregistrer un commentaire