As you take your Keurig to work morning after morning, dirt will inevitably accumulate over time. But be careful, if left unchecked, mineral buildup can prevent your Keurig from performing optimally. And if enough dirt gets inside the machine, the Keurig could fail altogether.
Luckily, cleaning dirt and keeping your Keurig running for years to come is easy - just give your favorite coffee maker the care it deserves. The brewing system, drip trays and water tanks require frequent attention. Even the outside of your device will pick up ugly smudges, fingerprints and other smudges that you want to remove.
Here's how to clean your Keurig and keep it in top condition. (You can also learn how to make iced coffee at home and organize your fridge . Also, check out our picks for the best coffee makers , best cold brew machines, and best coffee supplies.)
Wipe the exterior of your Keurig coffee maker with a damp cloth.
Brian Bennett/CNET1. Clean the outside of the Keurig
Start by cleaning the outside of the coffee maker. In fact, Keurig recommends that you do this every day. First make sure that the coffee machine is switched off and unplugged from the mains. Then use a damp cloth to wipe dust and other contaminants off the outside of the machine.
Pay particular attention to the front area directly under the coffee spout. This section tends to attract a lot of splashes and drips.
If your Keurig coffee maker's drip tray looks like this, it's time to clean it.
Brian Bennett/CNET2. Wash the drip tray
The drip tray is another part of the coffee maker that is prone to getting dirty. Spilled liquids often go unnoticed. Coffee drops can also evaporate here and leave stains. A quick hand wash in the kitchen sink eliminates this mess in no time. Hot water and dish soap work well. Perform this cleaning task daily.
After a quick hand wash in the sink, the drip tray looks great.
Brian Bennett/CNET3. Clean the water tank
Here is another daily cleaning task. This is to give the water tank the same hand wash treatment. Be sure to remove the water filter first if your machine has one. Depending on your coffee maker, it's safe to throw your tank in the dishwasher.
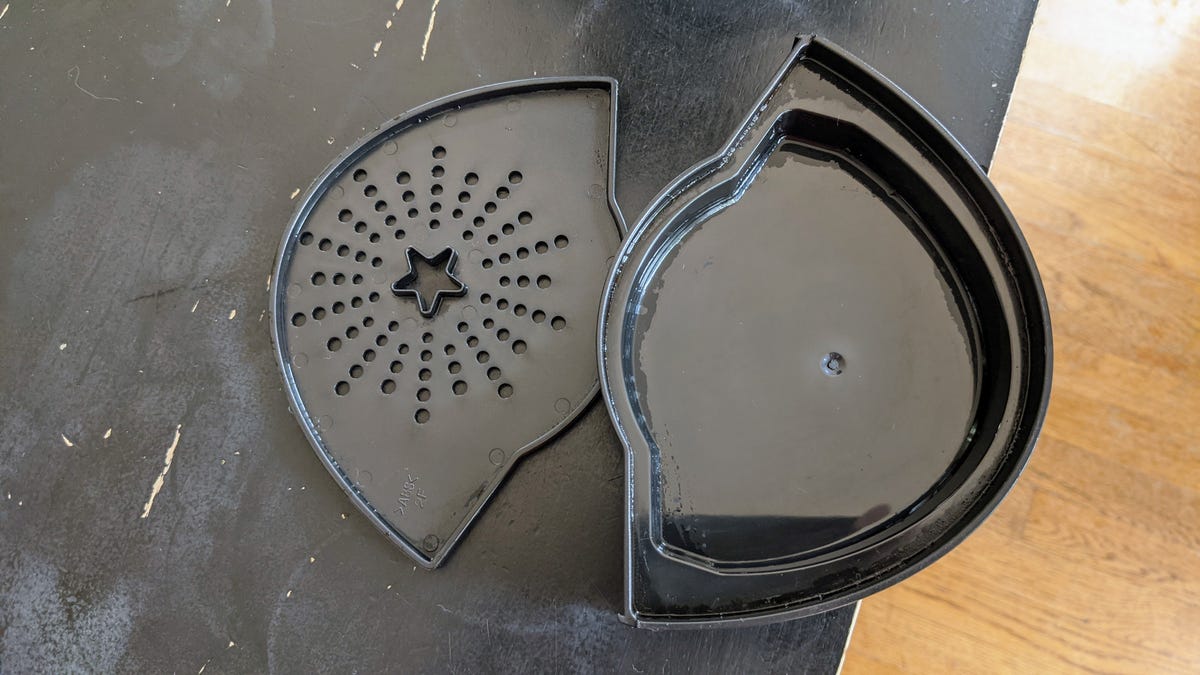
The pod holder was the dirtiest area on my test K-Cup brewer.
Brian Bennett/CNET4. Check the capsule holder
The dirtiest part of my test brewer, the Keurig K-Classic , was the pod holder. The coffee grounds, dirt, and dried coffee had formed a noticeable grittiness here. To fix this problem, I removed the pod holder and separated it into its two main parts. I then gave them a water rinse and a good scrubbing with a damp cloth.
You can also use a paper clip to remove debris from inside the brewer spout. The outlet needle is located inside the capsule holder. Be careful because this needle is sharp. Please note that Keurig recommends cleaning the pod holder weekly.
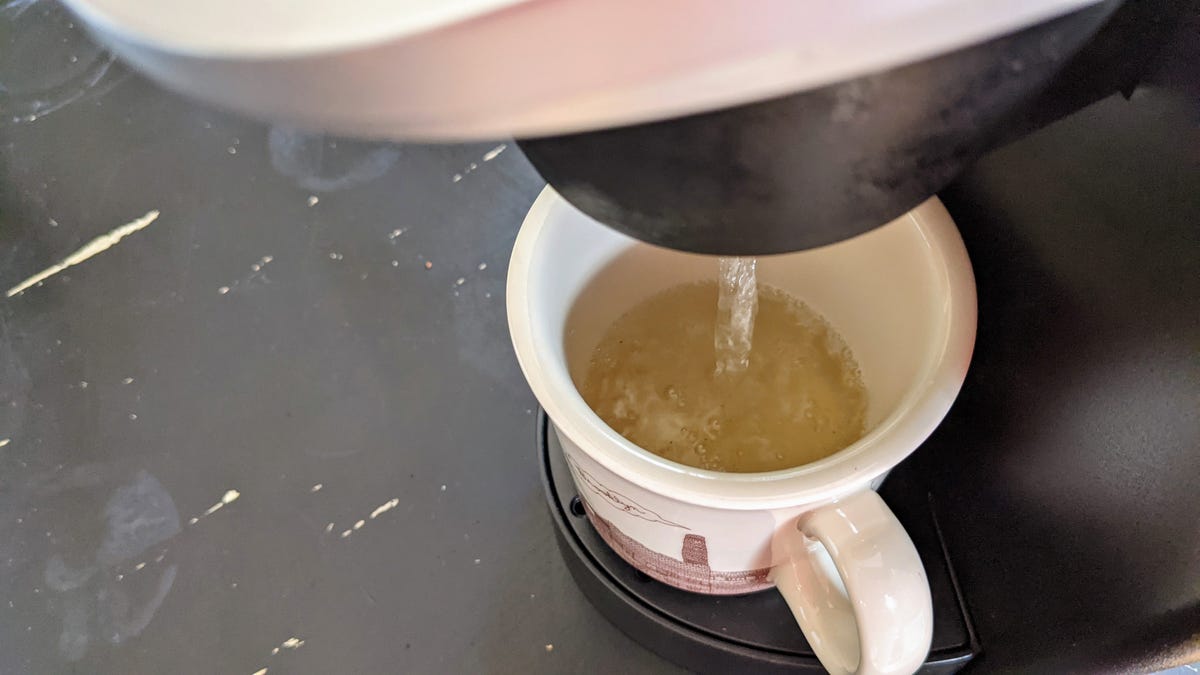
Perform a water-only brew cycle to flush the brew group of your Keurig coffee maker.
Brian Bennett/CNET5. Flush the entire system
It is important to keep your Keurig machine's brewing system clean. Dirty equipment can lead to off-flavors from the last brew. Enjoying a Pumpkin Spice Latte from Sumatra is not ideal. Dirt particles or other contaminants can also lead to blockages or even a malfunction.
To clean everything, run a daily brew cycle through the machine with just water. Make sure there is enough water in the reservoir and the capsule chamber is empty. You can cycle with any cup size you want, as long as the cup you are brewing in is big enough to hold the liquid.
And if you've never descaled your coffee maker before, or it's been three months, you should. According to Keurig, you should do the procedure quarterly. You can use vinegar or the company's special descaling product . Note that this is a long process, requiring at least 45 minutes (4 hours with vinegar).
However, descaling removes any mineral deposits (commonly present in tap water) that may be adhering to the internal components of your coffee maker. This in turn ensures your coffee maker is brewing at the optimum temperature.
After completing all of these steps, clean the infusion again to remove excess moisture. You should now be ready to brew in perfect condition.
See how to clean a cast iron skillet , how to clean your grill , and how to clean a mattress for more information.

out How to Clean Your Keurig with Distilled Vinegar
1:32
Aucun commentaire:
Enregistrer un commentaire